IMPORTANT - Using the SSL Configuration Tool (the Java-based tool) will not work in 9.4 or later, you must use the NEW tool outlined in this KB. (Please see step 16 when using a certificate that is NOT FIPS complaint)
If you already have an SSL Certificate installed in MS-IIS and you wish to export and use in the Kaseya Application Firewall Certificate Manager please review the directions below:
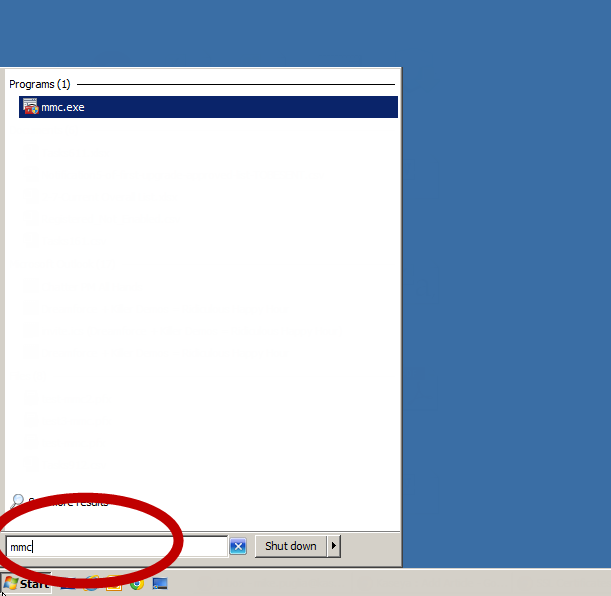
1. Start the Microsoft Management Console (MMC) by going to Start->mmc.exe
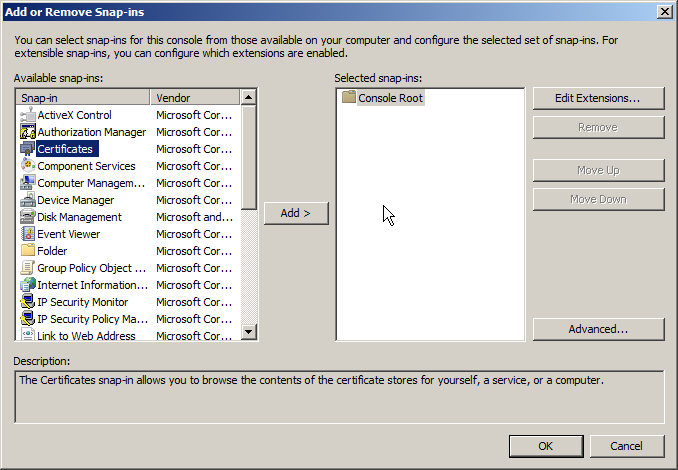
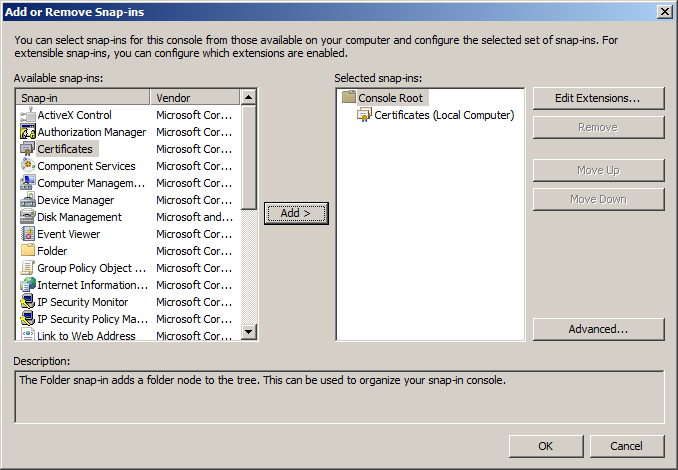
2. From MMC, choose File->Add/Remove Snap-in

3. From Add or Remove Snap-ins, select "Certificates" then click "Add"
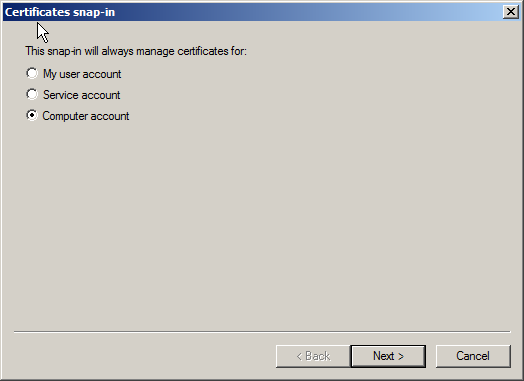
4. Select "Computer Account"
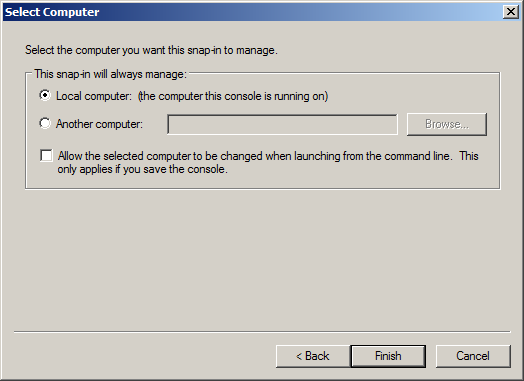
5. Select "Local Computer"
6. You now see "Certificates (Local Computer) in the selected snap-ins, click "OK"
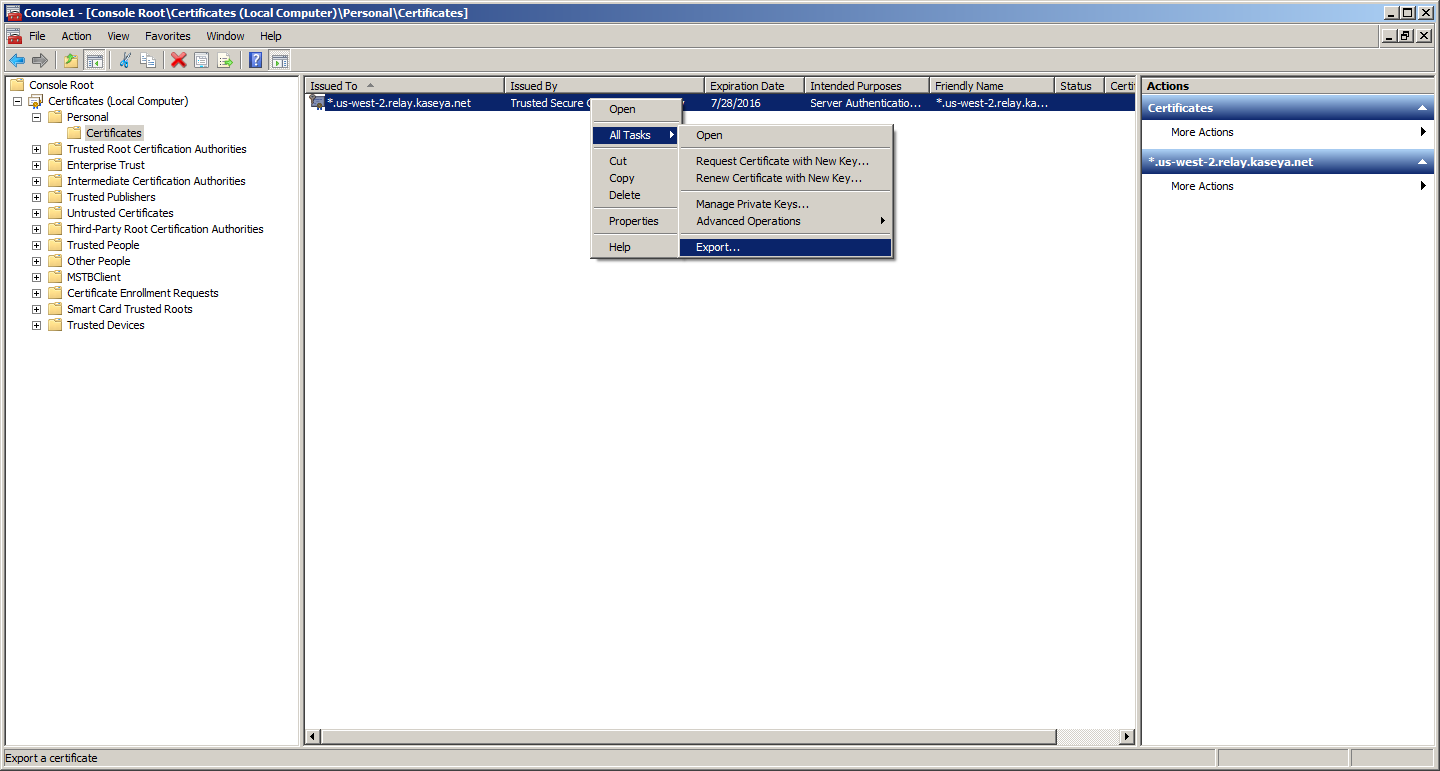
7. Select Your Certificate
In the left-hand pane, open Certificates->Personal->Certificates and it will show you all the SSL Certificates you have installed. Select the one you wish to export, right click, select "All Tasks" and click "Export"
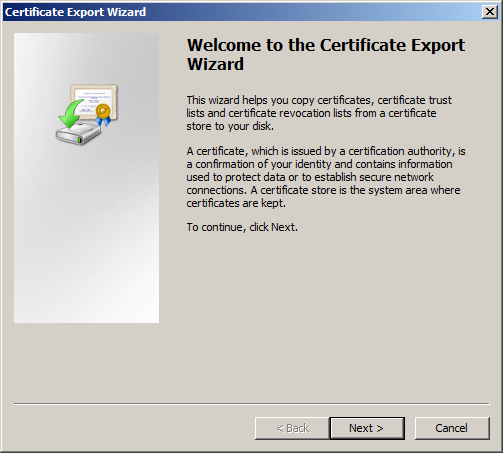
8. Start the Certificate Export Wizard, then click "next"
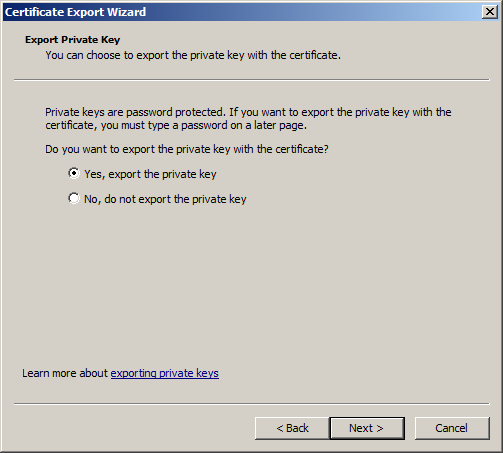
9. You must select "Yes, export the private key", then click "next"
10. You must select "PKCS#12 and check "Include all certificates in the certification path if possible" and "Export all extended properties", then click "next"
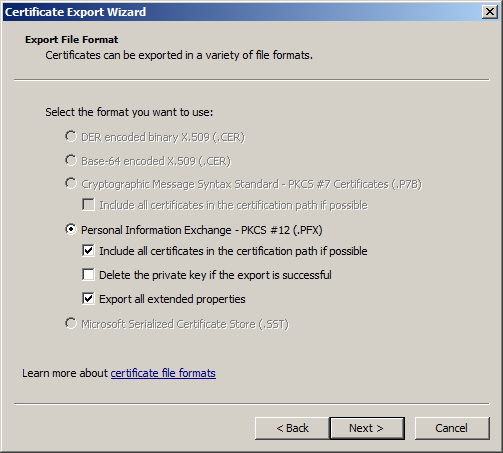
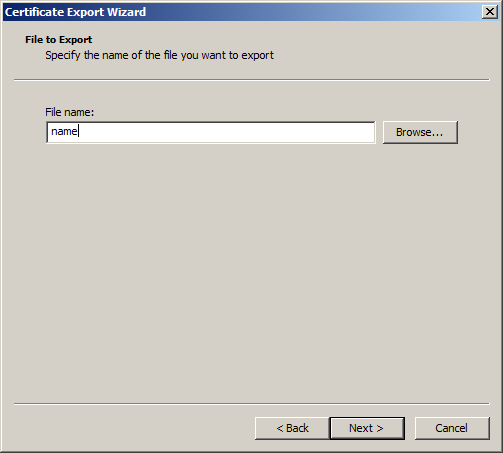
11. Provide a name for your export (and browse to the location you want to save it to) then click "next"
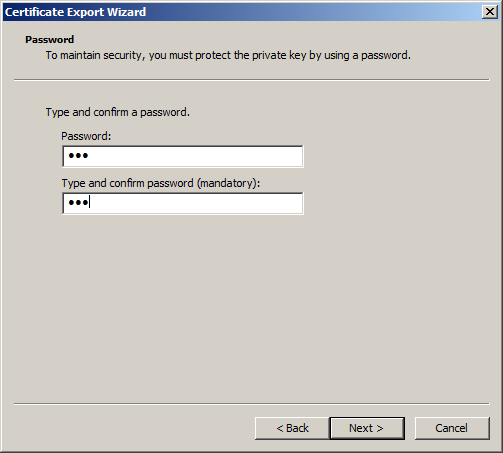
12. Give the file a password
13. Complete the export
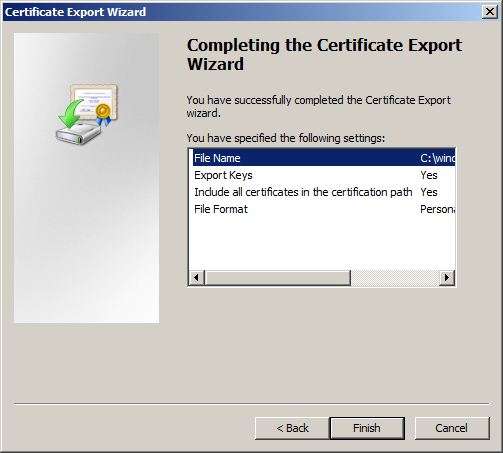
14. You have exported the PKCS#12 file with your certificate(s) included. Please make sure during the export steps above you have selected the following:
a) Export the private key
b) Checked "Include all certificates in the certification path if possible"
c) Checked "Export all extended properties", then click "next"
*You may receive errors or certificate warnings if you did not include the above items during the export.
**NB**: The certificate (PFX File) needs to be stored in a location that is available to the system at all times. We advise X:\Kaseya\Certificate (where X:\ is the install drive of your Kaseya install).
Do not store the PFX file in a user-specific folder (c:\users\sam\desktop\myCert.pfx) as this location is not available to the system.
Do not use a UNC path (\\fileServer\data\myCert.pfx), as should there be a network issue, the certificate will not be available to the Kaseya Edge Service.
Do not use a temp directory (C:\windows\temp), the certificate will not be available to the Kaseya Edge Service.
Do not delete the PFX file, even once imported - this file needs to be available at all times, not only to import or start the server but during normal operation of the Kaseya Edge Service.
*FOR FIPS 140-2 VALIDATED SSL CERT*
Key size when issuing the cert from the CA should be 4096
SHA-512 hash
After installing the certificate in the cert store on the VSA host, right-click to export the cert as a PCKS12 (.pfx) using AES256-SHA256 encryption (not the default option for the export).
This should provide them with the FIPS-validated certificate if everything goes as planned.
15. If you have an intermediate certificate (not required for the VSA, but required for add-on modules, like O365 Backup (Spanning), Compliance Manager (RapidFire Tools), Unitrends (KUB + KDCB), please follow the instructions of your certificate provider.
The file format should be a .p7b
You can refer to this link and the section for Install any Intermediate Certificate: https://www.sslshopper.com/article-installing-an-ssl-certificate-in-windows-server-2008-iis-7.0.html
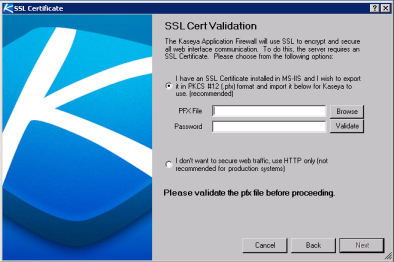
16. Now You Need to Import Your Certificate File into the Kaseya Application Firewall Certificate Manager.
This can be done either during installation when you are prompted.
Below is a screenshot of the prompt during installation:
Or,
After installation by going to $:\Kaseya\Services\KAF-Tool.exe and using the Kaseya Application Firewall Certificate Manager, the screen will look like this:
Note: Please run the KAF tool as administrator, or the update will fail.
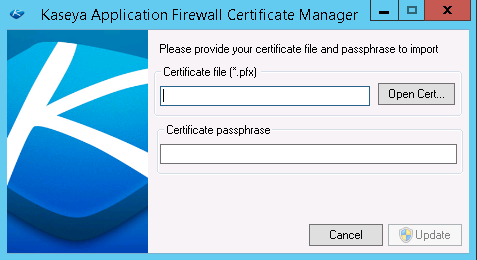
Note: It's required to run the KAF-Tool.exe with a Windows Administrator Account.
IMPORTANT - Using the SSL Configuration Tool (the Java-based tool) will not work in 9.4 or later, you must use the NEW tool outlined above. May need to be run as administrator if it fails.
Please see below when using a certificate that is NOT FIPS complaint:
When using the KAF-tool to register a certificate that is not FIPS compliant, and the edge services configuration file is set for FIPS=true, edge services will fail to start with the following error message:
[E 2023-10-31T00:07:42.458636Z +00:00 7964 1958] error:23076072:PKCS12 routines:PKCS12_parse:parse errorerror:060A60A3:digital envelope routines:FIPS_CIPHERINIT:disabled for fipserror:06074078:digital envelope routines:EVP_PBE_CipherInit:keygen failureerror:23077073:PKCS12 routines:PKCS12_pbe_crypt:pkcs12 algor cipherinit errorerror:2306A075:PKCS12 routines:PKCS12_item_decrypt_d2i:pkcs12 pbe crypt errorerror:23076072:PKCS12 routines:PKCS12_parse:parse error
[E 2023-10-31T00:07:42.458636Z +00:00 7964 1958] [TlsCertificateManager] Failed to decode TLS certificate
C:\jenkins\workspace\EdgeEndpoint----6de9da72\Endpoint\src\Utility\Security\X509CertificateAndPrivateKeyOpenSsl.cpp(55): Throw in function class boost::shared_ptr<class Kaseya::Utility::Security::X509CertificateAndPrivateKeyOpenSsl> __cdecl Kaseya::Utility::Security::X509CertificateAndPrivateKeyOpenSsl::MakeFromDer(class Kaseya::Utility::ConstBufferDescriptor,const class std::basic_string<wchar_t,struct std::char_traits<wchar_t>,class std::allocator<wchar_t> > &)
Dynamic exception type: struct Kaseya::Utility::OpenSslCryptographicException
error:23076072:PKCS12 routines:PKCS12_parse:parse error (openssl:587686002)
Stack Trace:
KaseyaEdgeServices.exe: 1EA64B
KaseyaEdgeServices.exe: 20EF9F
KaseyaEdgeServices.exe: 20F16A
KaseyaEdgeServices.exe: 20145C
KaseyaEdgeServices.exe: EC7A9
KaseyaEdgeServices.exe: 99FD2
KaseyaEdgeServices.exe: 98F82
KaseyaEdgeServices.exe: B30BB
sechost.dll: 19CF2
KERNEL32.DLL: 17AD4
ntdll.dll: 5A371
In order to work around this, Manually disable FIPS in the edge configuration file.
17. Using Either Process, copy your certificate file to a safe location on the machine (where it won't be deleted), then use either of the above-pictured interfaces to browse to select that file, enter the password/passphrase you set when you exported it and click update/next.
18. Go to Services and Restart the "Kaseya Edge Services" and the system will now use the SSL Certificate you imported.