Microsoft PowerBI is a powerful business intelligence software. VSA Data Warehouse API uses OData format to send data and PowerBI has native support for such data sources. In the article we will walk through the process of adding data source and creating a simple report.
The below instruction relies on the desktop version of Microsoft PowerBI. In case you are going to use a cloud-based one you must configure VSA Server to be accessible to the PowerBI cloud.
Step 1. Create VSA Access Token
Data Warehouse API supports both OAuth 2.0 and Basic authentication protocols. PowerBI supports a Basic authentication protocol. To use it we need to create an Access Token in the VSA interface.
Open the Access Tokens tab (System > User Security > Users -> User -> Access Tokens) for the VSA User you would like to create a token for. It makes sense to create a separate VSA User to deal with API calls. 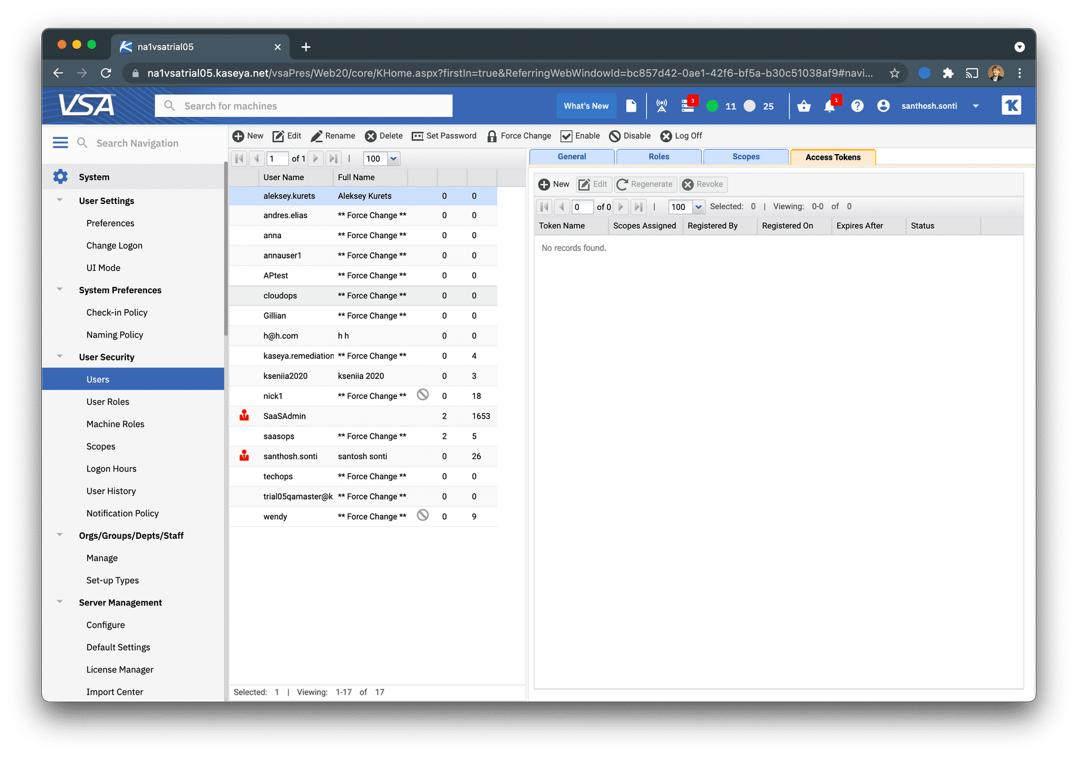
Create a new token by entering a token name, and expiration date (optional).
Check the «Data Warehouse (Read)» scope.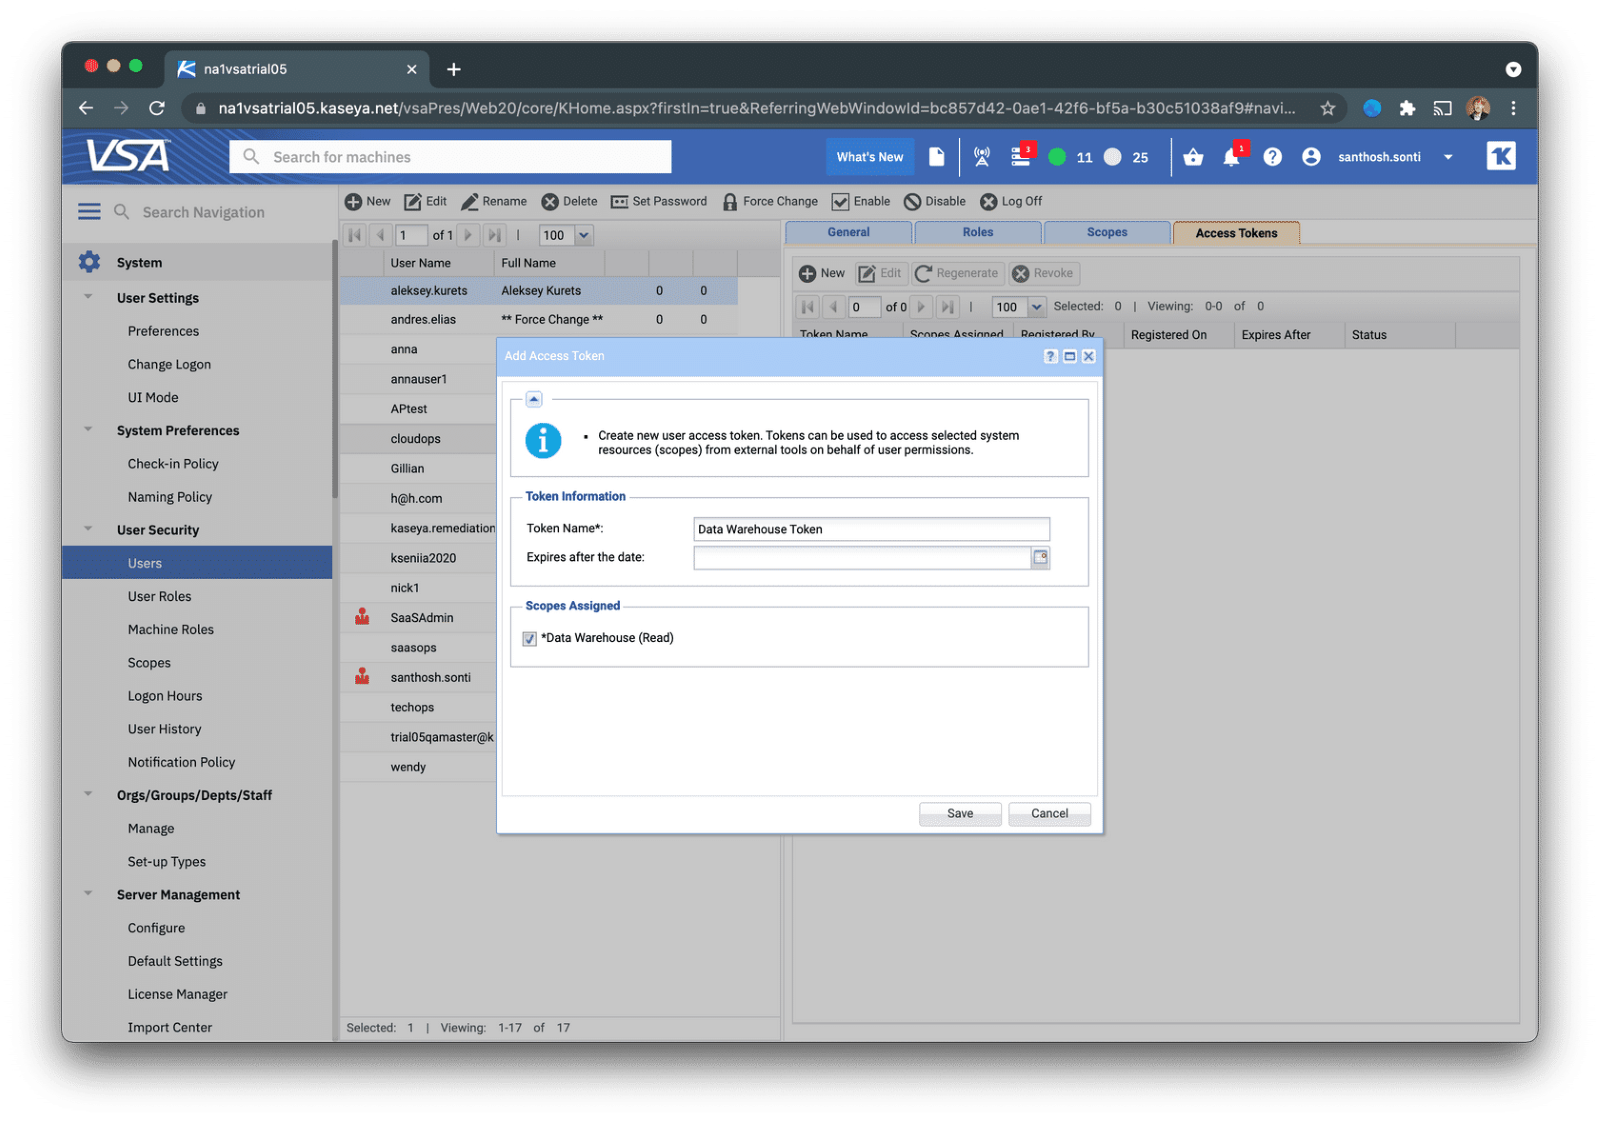
Copy newly created token string to the clipboard. 
Step 2. Add Data Warehouse API data source to the PowerBI
Start your PowerBI Desktop application and open the File -> Get Data -> OData feed dialog.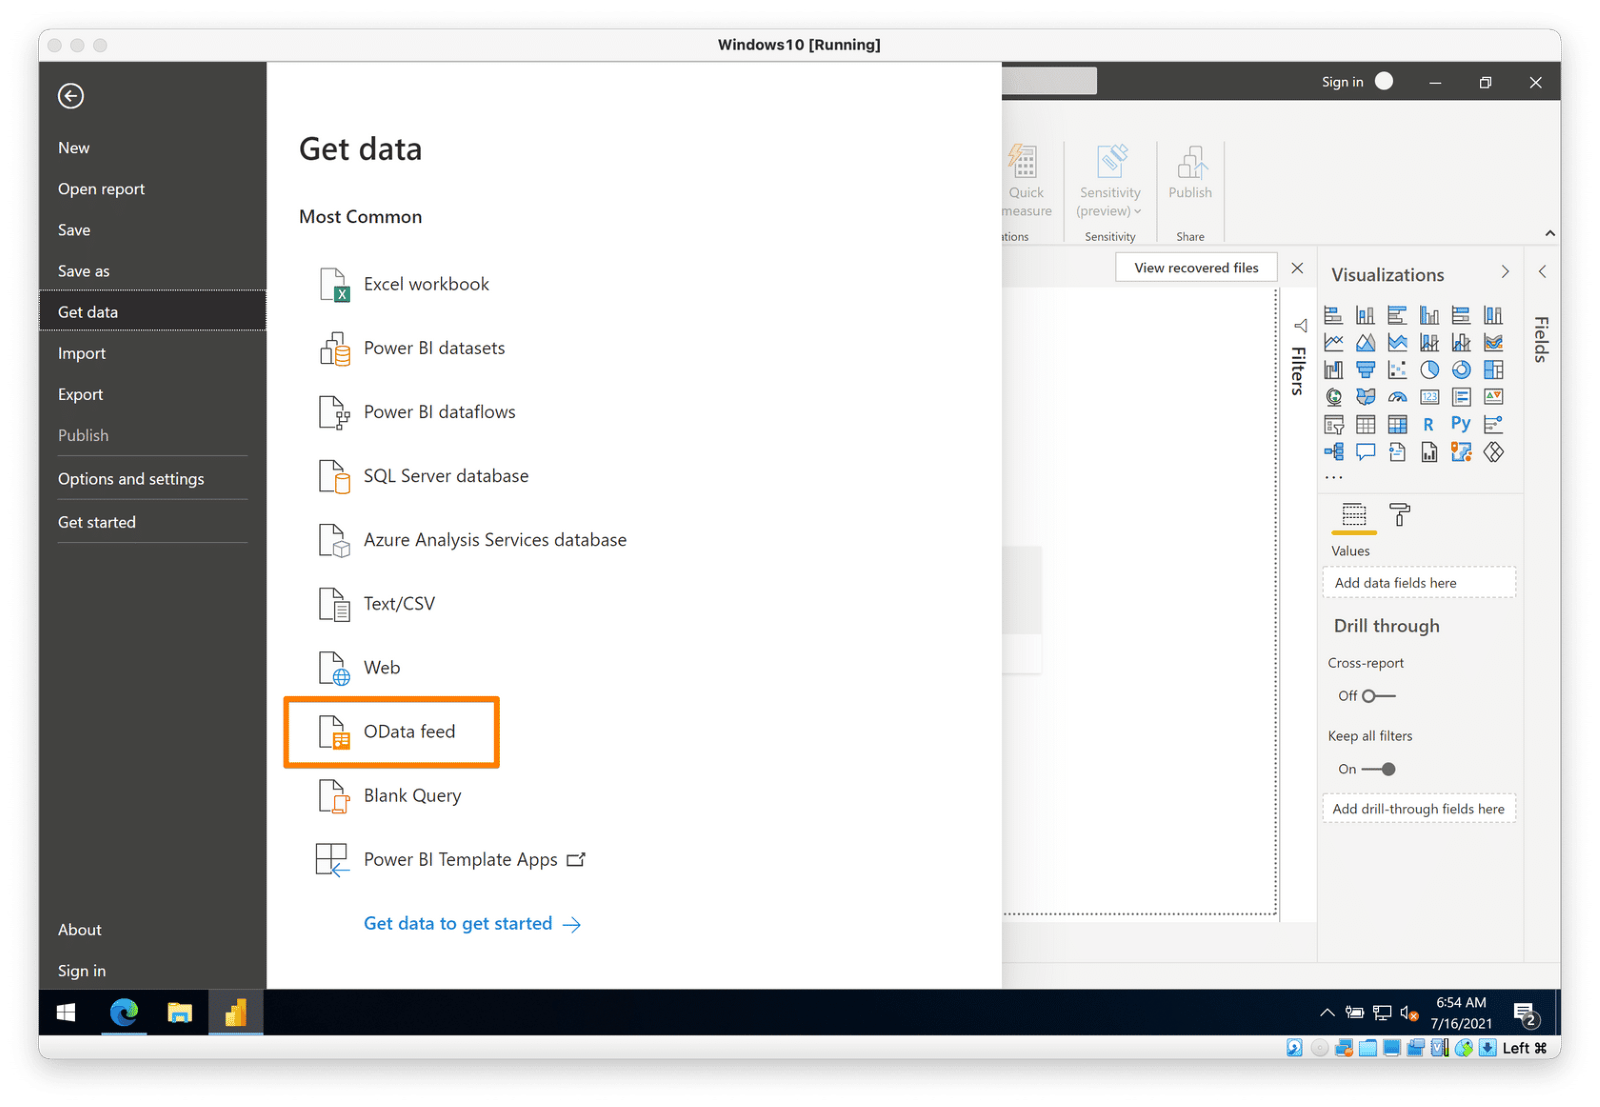
Enter your Data Warehouse API data source URL (see the format below) and click «OK».
Use URL in the following format for your Data Warehouse API data source:
https://<VSA_DOMAIN>/api/odata/1.0 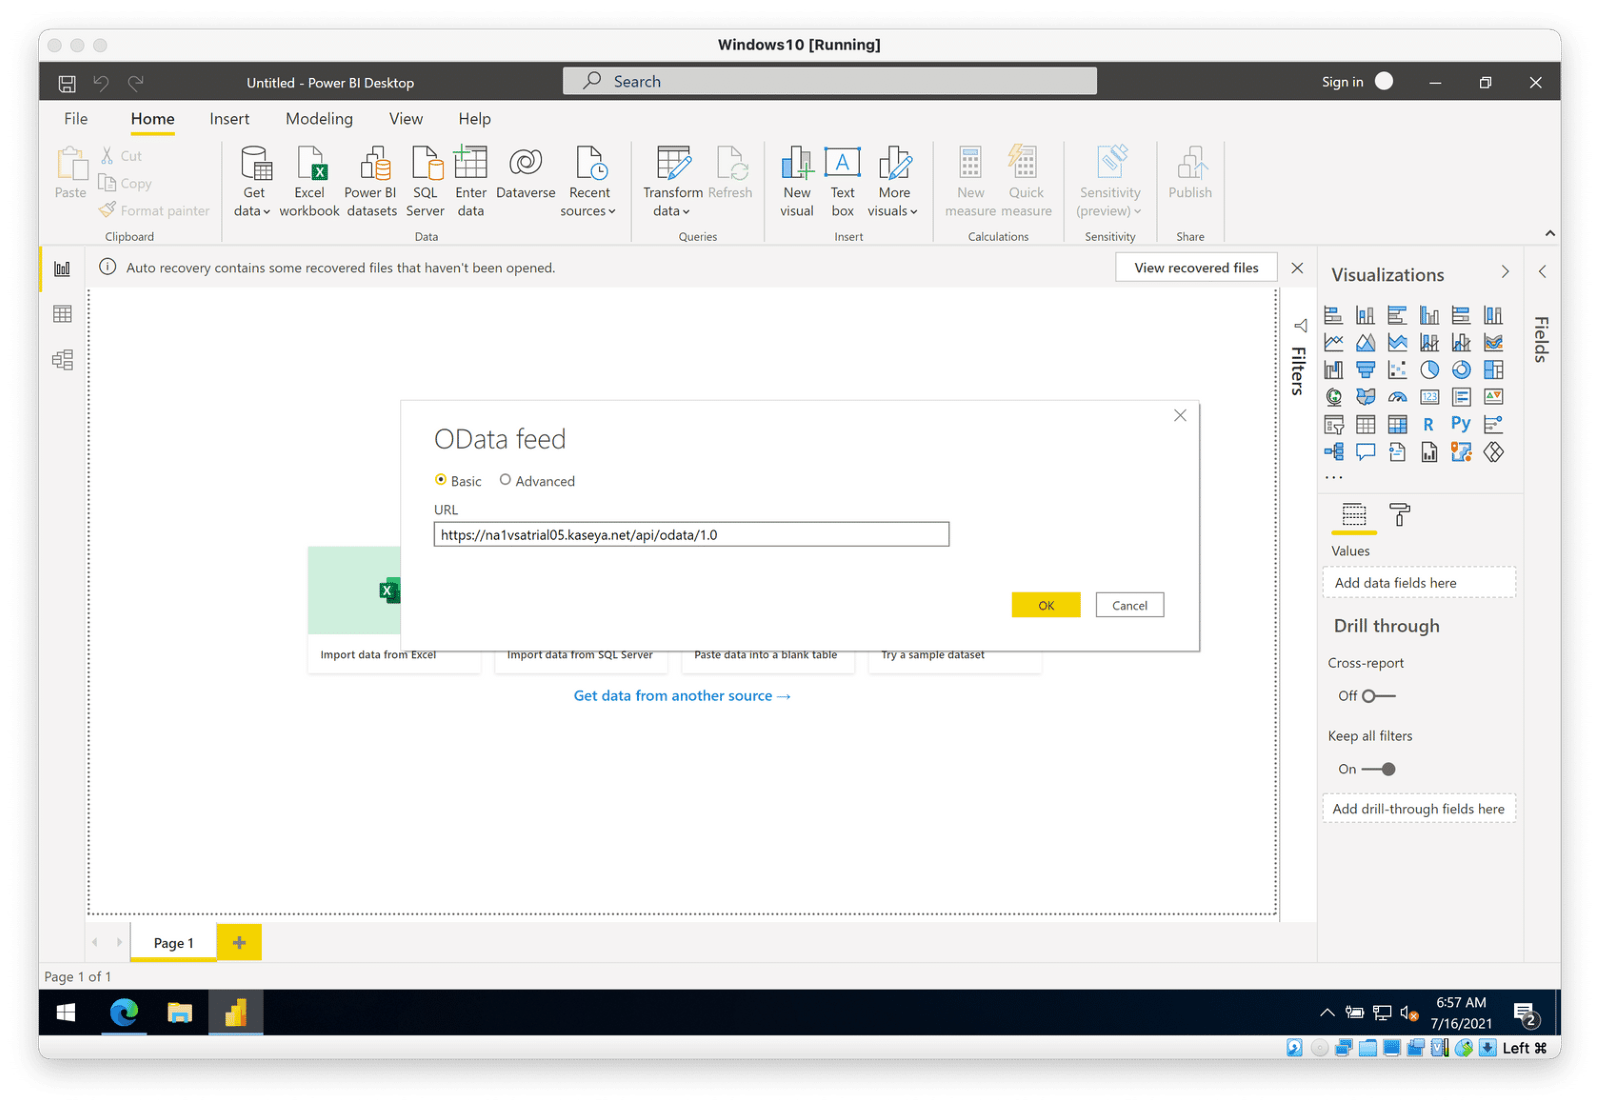
Enter credentials for the VSA User you previously created a token for. Choose «Basic» authentication protocol (1), enter your Username (2) and Access Token string as a password (3). Click «Connect». 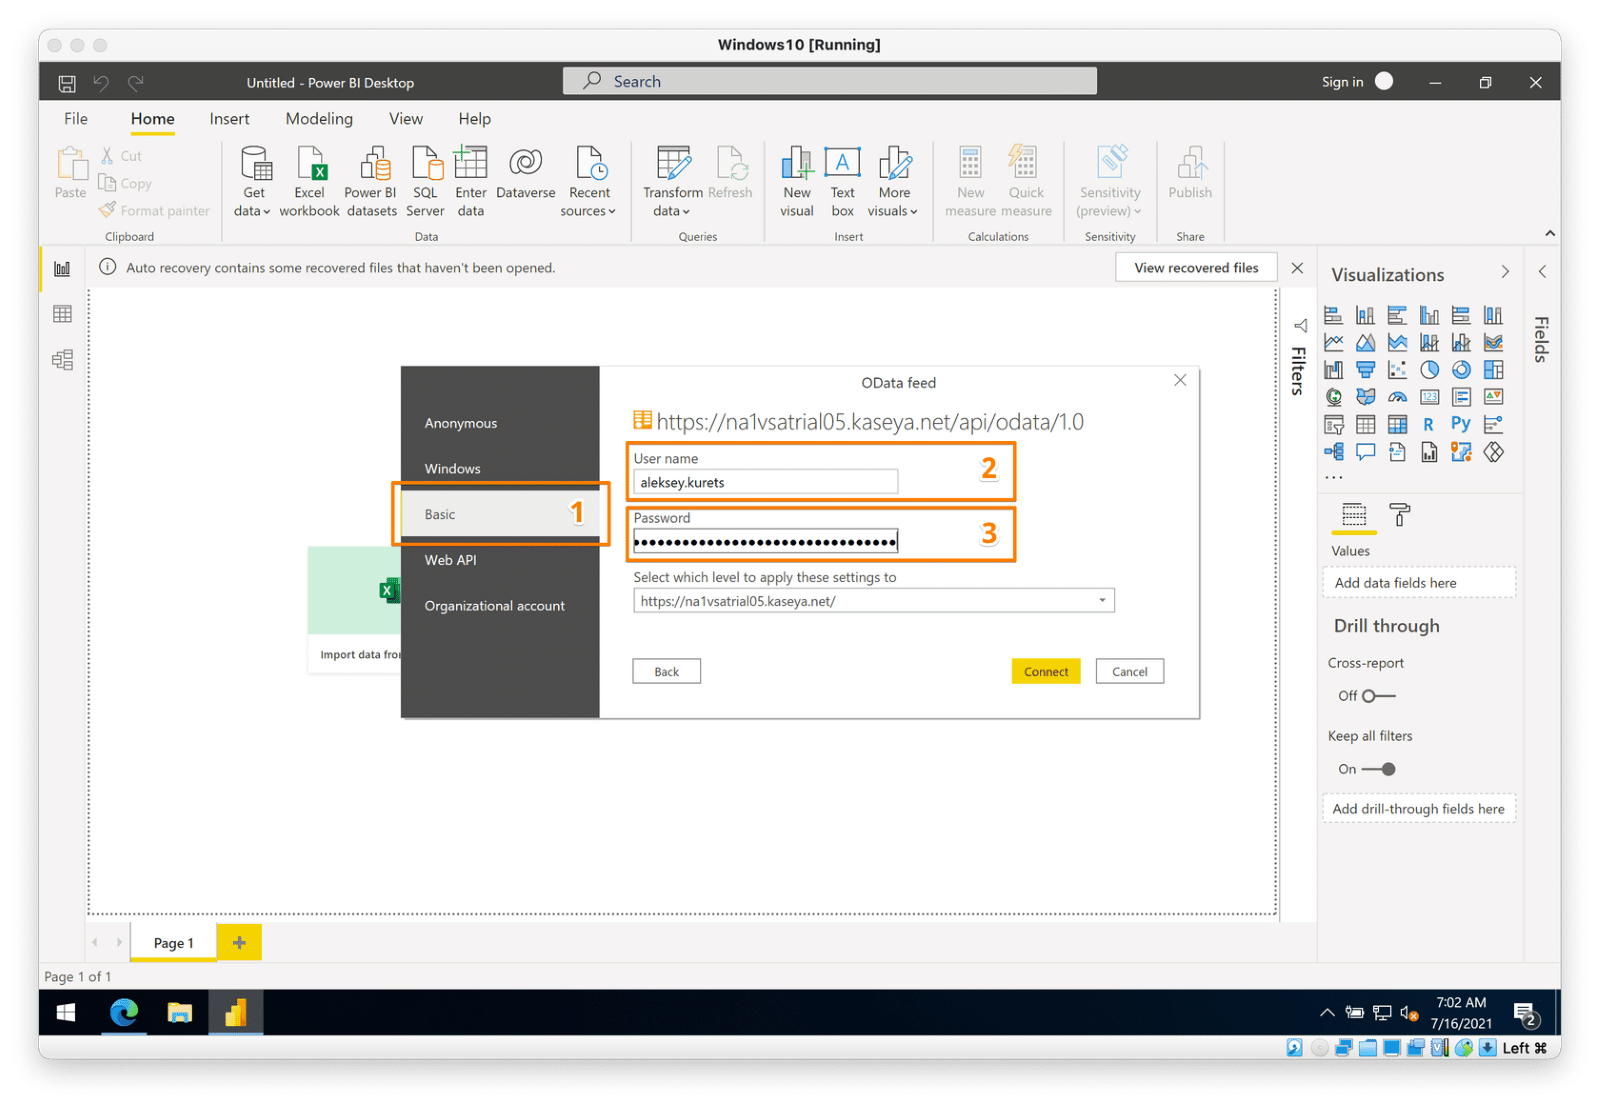
Choose the datasets you would like to use in your PowerBI reports (dashboards) by checking them. Click «Load». 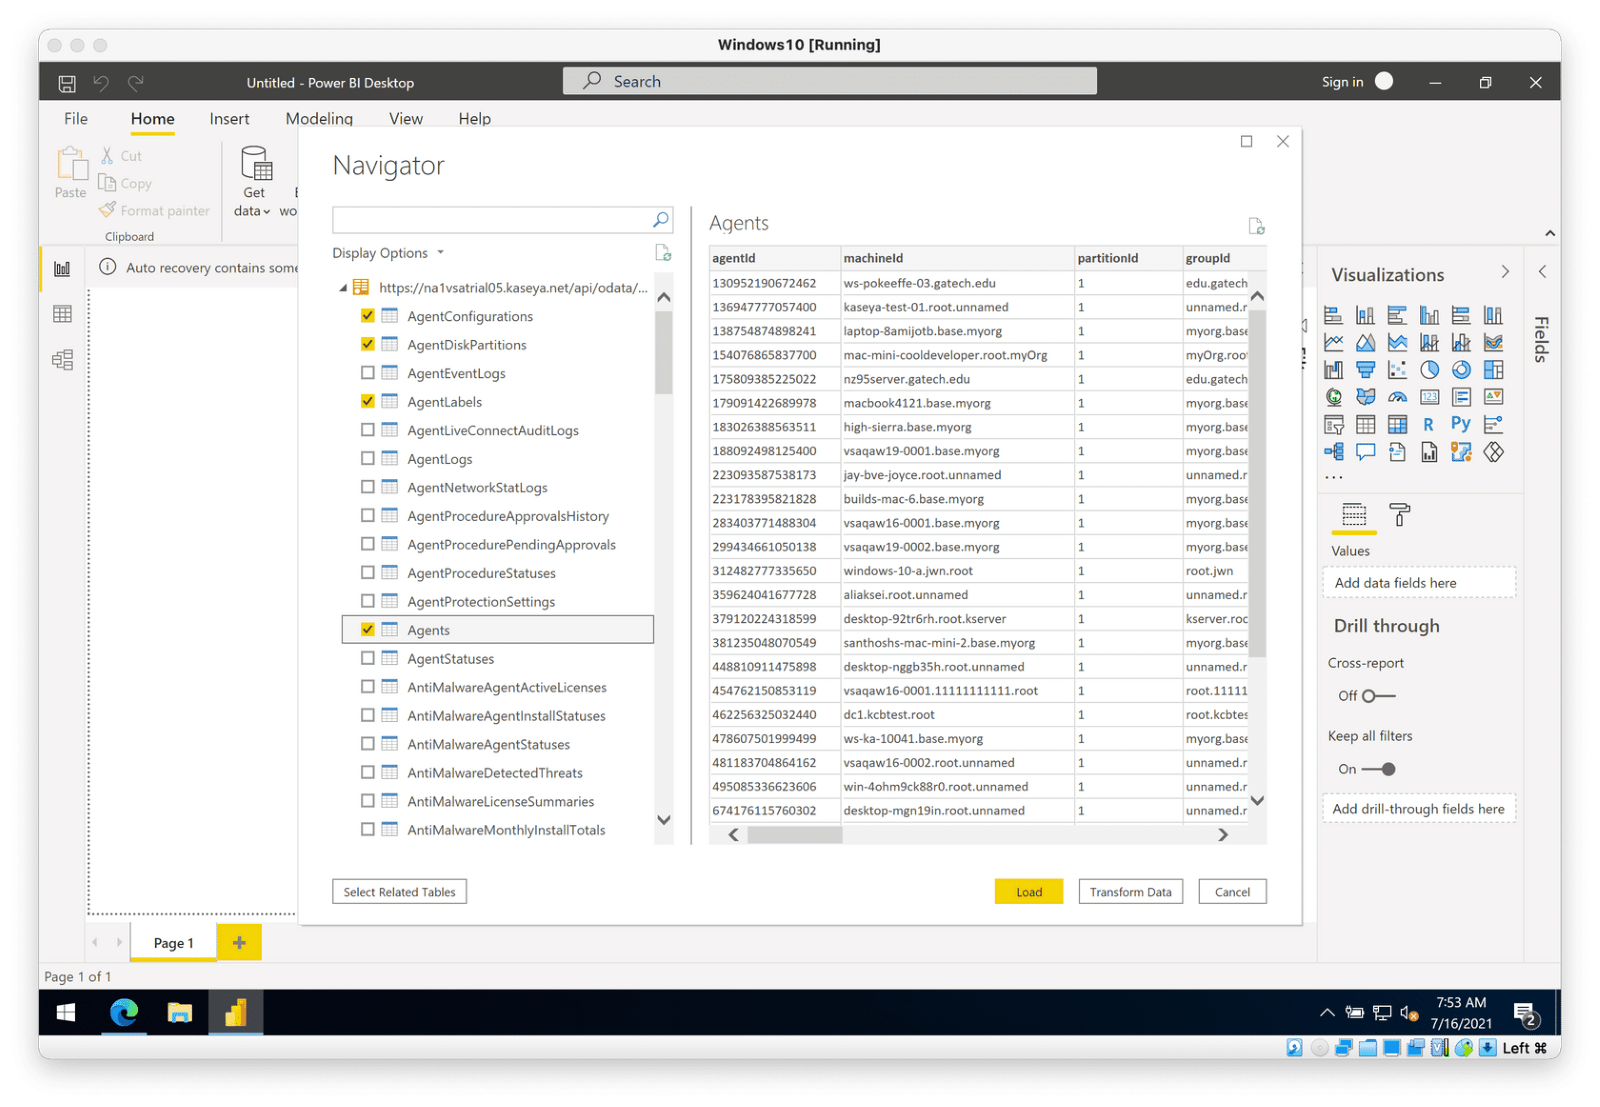
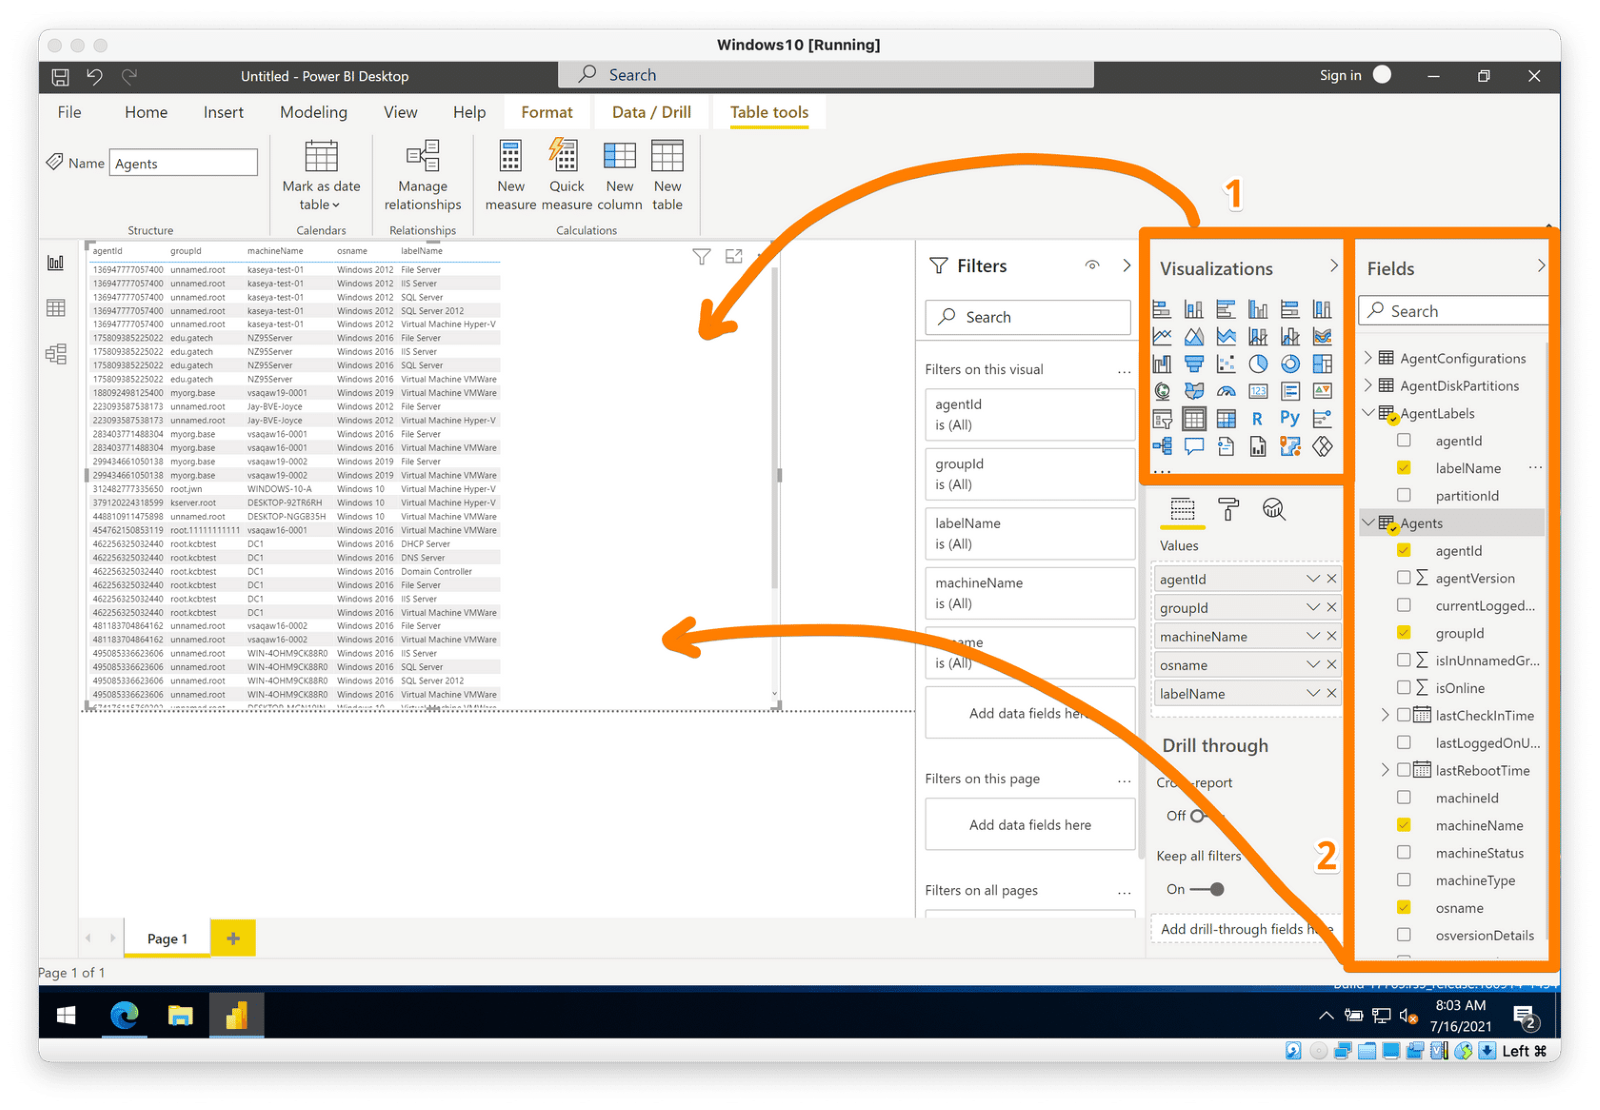
Step 3. Build your report
Drag and drop any visualization block (1) and choose Data Warehouse fields (2) from datasets you added during the previous step.