Introduction
With RMM integration with PSA and VSA, you will also be able to utilize the features to launch LiveConnect for an asset from PSA This guide details the setup and configuration for the LiveConnect for an active RMM VSA PSA integration.
Prerequisite
- Active RMM Integration between PSA and VSA
- The latest version of the Kaseya LiveConnect app
- Allow popups for all sites on the browser you are using during configuration.
Configuration
Register your PSA instance in the target VSA.
-
- See the VSA > System > OAuth Clients help topic for instructions.
- Client name: You can use your tenant name or an easy name that makes sense.
- Navigate to My Settings: Click on your name on the right of the top navigation bar
Gateway URL is the server URL of your tenant, eg: https://bmsemea.kaseya.com/, and Company/Tenant name will be listed here.
- Navigate to My Settings: Click on your name on the right of the top navigation bar
- Provide a Redirect URL. The format should be: https://<yourpsaserver>/OAuth/KaseyaVSACallback.aspx
- Server: https://<yourpsaserver>, (Find server details)
- Provide an email address that will send you a Client ID and Client Secret.

Setup Liveconnect in PSA
- Navigate to Admin > Service Desk > RMM Integration Settings>Liveconnect.
- Enter the Client ID and Client Secret from the mail into the Live Connect tab in PSA.
- Save the RMM Integration Settings record with the new Client ID and Client Secret values entered.
- Save your changes to this RMM Integration Settings record.

Launching Live Connect
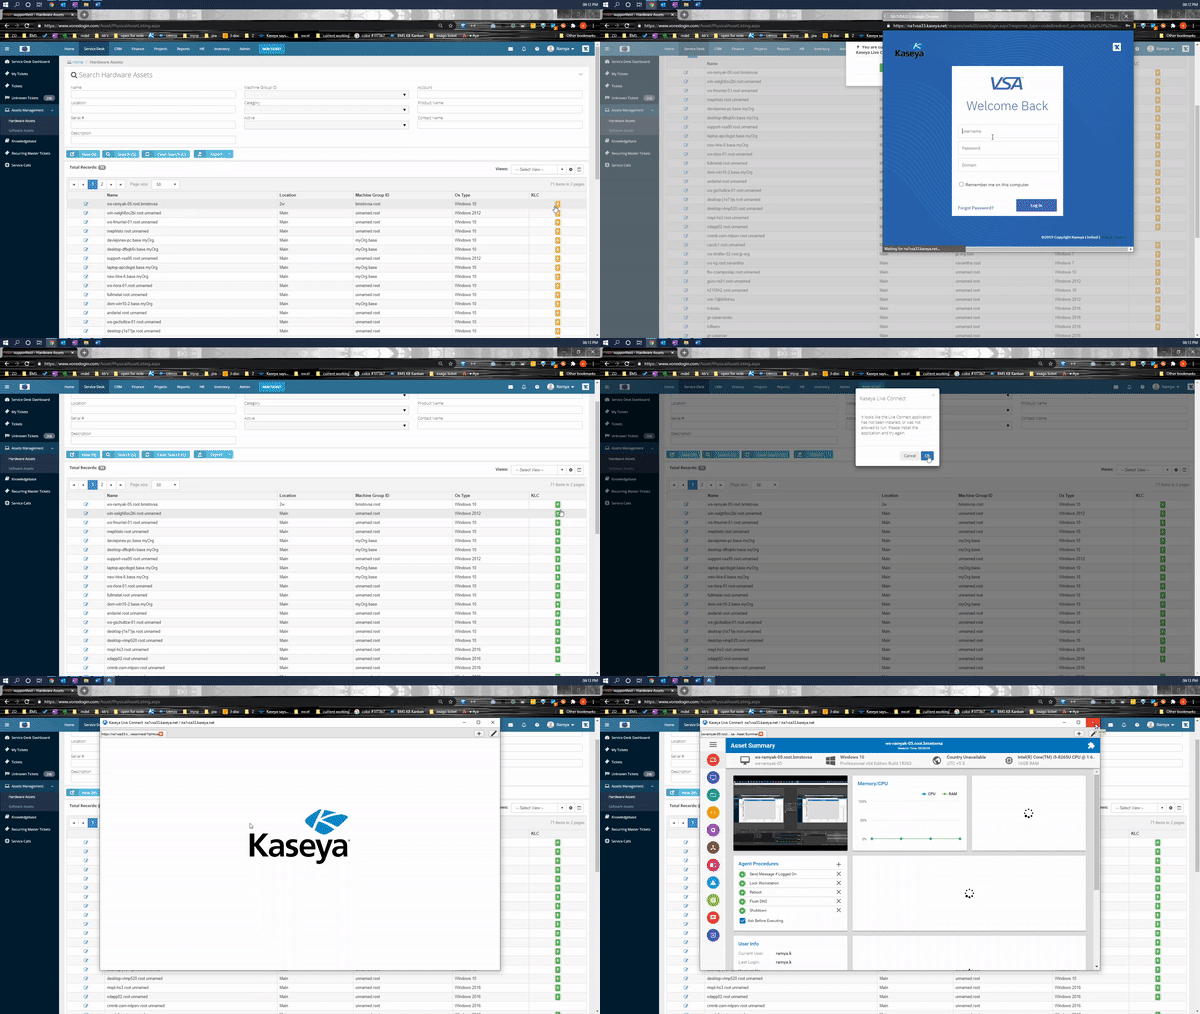
Live connect for an asset can be accessed from these pages. Live connect authentication can be done from these pages or from the My Settings page.
-
- Navigate to Service Desk > Asset Management > Hardware Assets page
- The View Ticket tab of an open ticket.
- The Search Hardware Assets dialog used to select a hardware asset and link it to a ticket.


My Settings : Navigate to Home > My Settings >Integrations > Live Connect Integration>
Connect.
- Once you click to authenticate, PSA will direct you to log in to VSA. If you are already logged in, it should ask you to allow the auth.
- After you are successfully logged in the icon would no longer show amber in color.


Providing Live connect access to your Techs
- Navigate to the PSA > Admin > Security Roles page.
- Edit the security roles used by your Service Desk technicians.
- For each security role that applies, ensure the Kaseya Live Connect special feature is checked in the Service Desk section of the Permissions tab.
- For each user that will be using the Live Connect feature, download and install the VSA Live Connect app on his or her local computer.
