QUESTION
How do I set up Okta Integration to Kaseya?
RESOLUTION
Okta Configuration
-
Sign into Okta> Admin>Applications
-
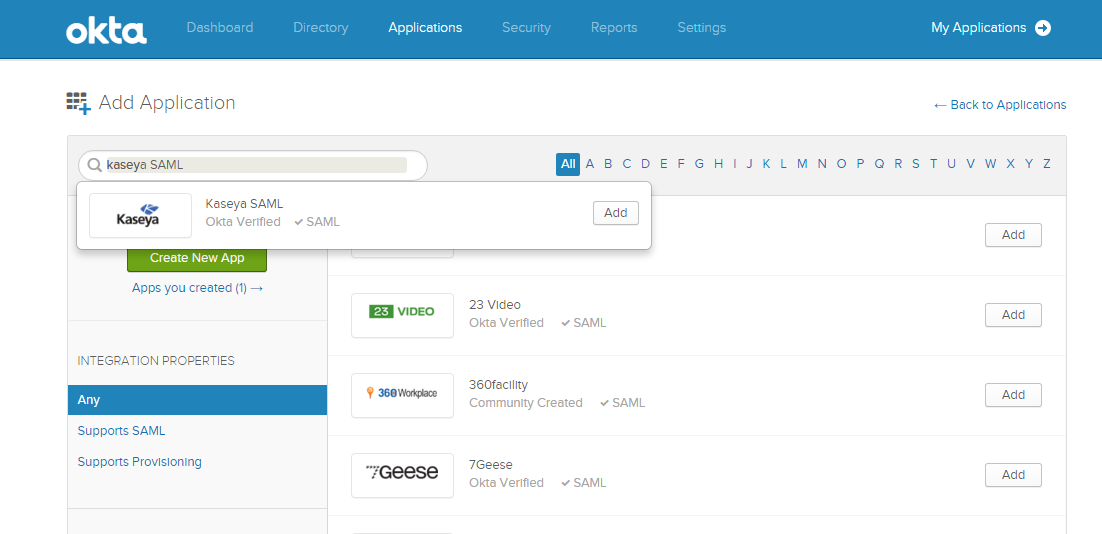
Add Application> search “Kaseya” > Add
- For “Kaseya Host” enter the domain name that your Kaseya server is on. This will be the domain portion of the URL you would normally go to, to log into your Kaseya Server.
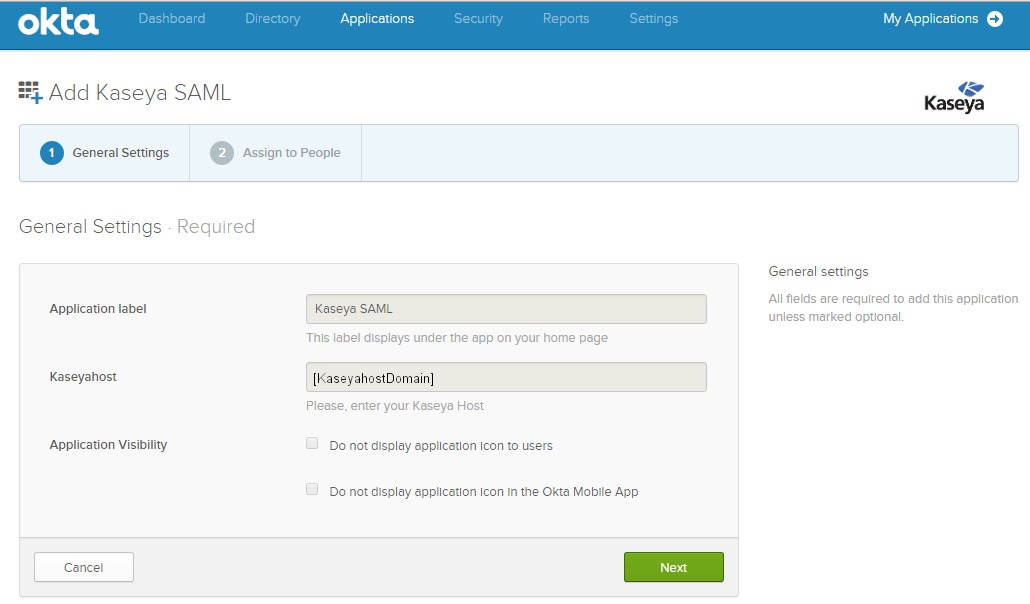
- Click “Next”
-
Assign people to the application, Click Next
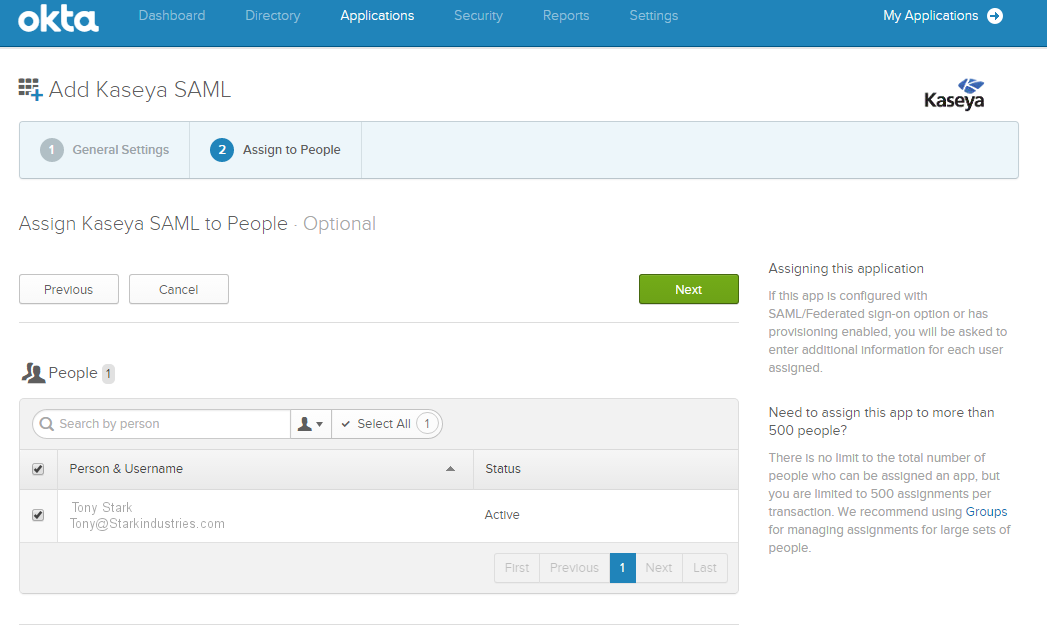
- Click Done
-
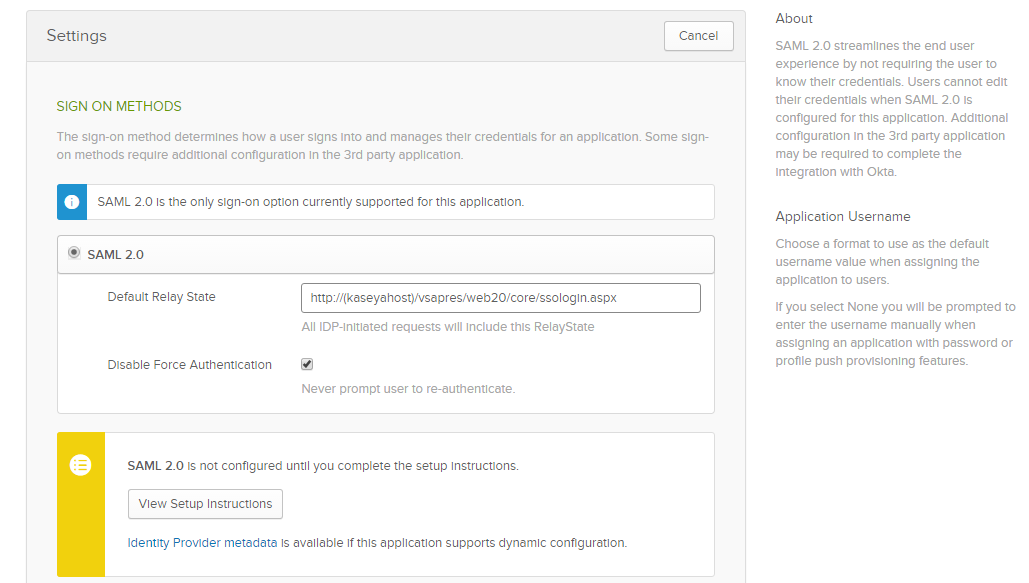
Select “Sign On” at the top menu
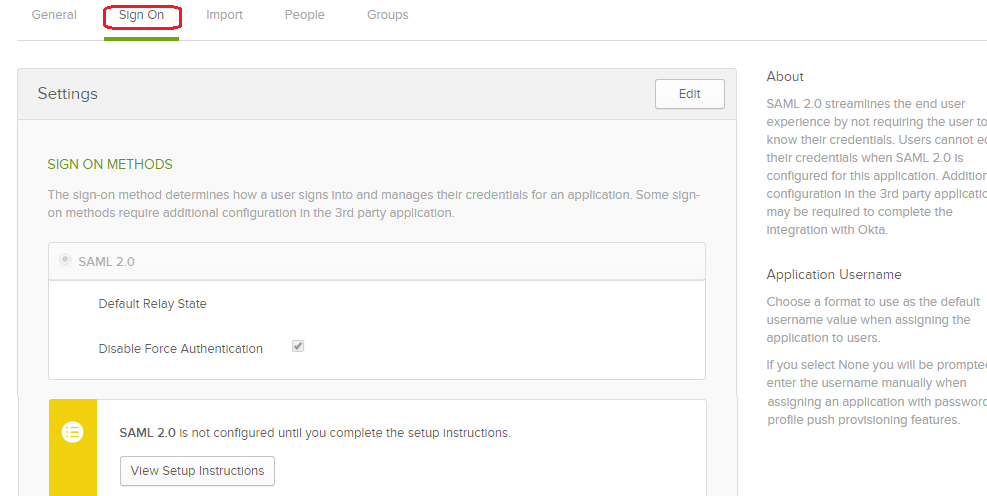
- Select “Edit” in the Settings area
-
Add the “Default Relay State” as “http://[kaseyahost]/vsapres/web20/core/ssologin.aspx”
-
Click the “View Setup Instructions” button
-
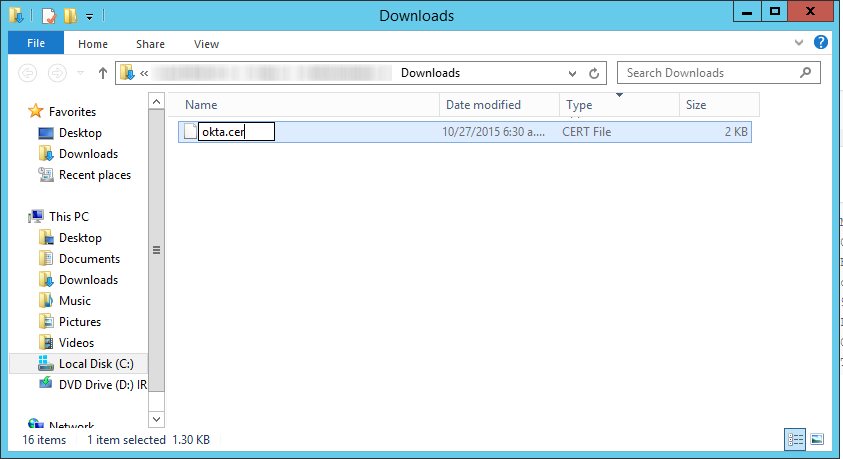
On the window that opens, scroll down until you see the “x.509 Certificate” area and click the link to download the Certificate in *.cert format.

- Open the folder where the Certificate downloaded to, and rename the extension from “cert” to “cer”.
- Close the Window
-
Click Save.
-
The default “Credential Details” are configured to use the “Okta Username” which pertains to the Email address. As long as the email address exists in Kaseya as the Username for the user, the Okta integration will function.
Steps for Kaseya Configuration:
-
Log into Kaseya with a user that has Master Role
-
Browse to AuthAnvil > Two Factor Auth > Configure Kaseya Logon
- Under the Kaseya Two Factor Auth Settings settings > AuthAnvil SAS URL enter https://localhost/AuthAnvil/sas.asmx
Site ID: 1
Note: You will receive a warning message "SAS URL is set to localhost and will not be verified. Use this for SSO only configurations." this is expected as you are not using AuthAnvil for 2FA as well. -
In Kaseya Single sign-on area at the bottom, Upload the Certificate (*.cer file) that was downloaded from Okta.
-
Set the Reply to URL to:
-
(https://[sub-domain for the Kaseya server]/vsapres/web20/core/ssologin.aspx)
-
-
Select the “Enable Sign Sign On to Kaseya” checkbox
-
Save changes.

- Test Single Sign-on from Okta.